
# How to move Azure Subscriptions? ➡️
During my last workshops I noticed that many organizations are not aware of their detailed licensing situation regarding Microsoft Agreements. Mostly, even the licensing managers do not know exactly if Azure credits, or developer subscriptions for testing purposes are available. It is worth to check with a Microsoft Partner Manager, if such “free to use” opportunities for Azure are available within the licensing contract to save consumption 💵 and speed up learning ⏳for the cloud geeks how Azure Services are working. If such licenses can be used, these Azure Subscriptions are often connected to the company Azure Tenant 🏢, where the users do not have any rights in Azure AD. Thus, not all Azure Services can be tested, and no one wants to ask the identity or cloud governance team all the time if changes to the Azure AD of the company are possible. 😖
That’s the situation when it makes sense to create a personal Azure Tenant for testing purposes and transfer the Visual Studio Subscription (Azure Benefit) to this Tenant, where full Azure AD rights (‘Global Administrator’) are available. 💡💡💡
But how to do that in detail? The following step-by-step instructions can help. 👍😉
Step 1 – Visual Studio Benefits Assigment 🪙
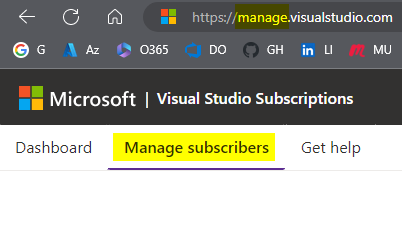
Make sure that to your personal Microsoft Account (e.g., john.doe@live.com, …outlook.com, etc.) a proper Visual Studio license is assigned. This can be checked in the Visual Studio Management Portal. Normally, these licenses are managed by an official licensing manager within the enterprise who is also managing the allocations of available MSDN benefits. So, reach out with the responsible person first to get an assignment.
Step 2 – Azure Benefits Activation ☑️
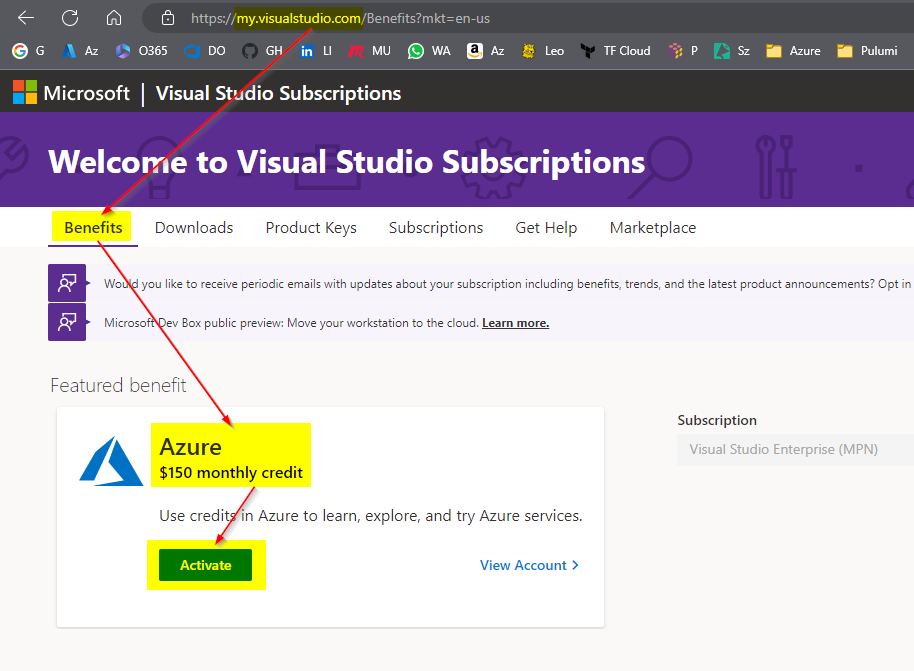
After the license has been assigned to the personal Micrsoft Account, all available benefits are visible in the Visual Studio Portal and can now be activated. Click the “Activate” button like the following screenshots illustrates to start the connection of your Azure Benefits with an Azure Tenant. The Azure Benefits will bring you an Azure Subscription with a certain amount of monthly credit/budget for testing, experiment and learning purposes, like the following listing shows:
💰 Visual Studio Enterprise 150$
💰 MSDN Platform 100$
💰 Visual Studio Professional 50$
💰 Visual Studio Test Professional 50$
Step 3 – Connect Azure Subscription with an Azure Tenant 🧑💻
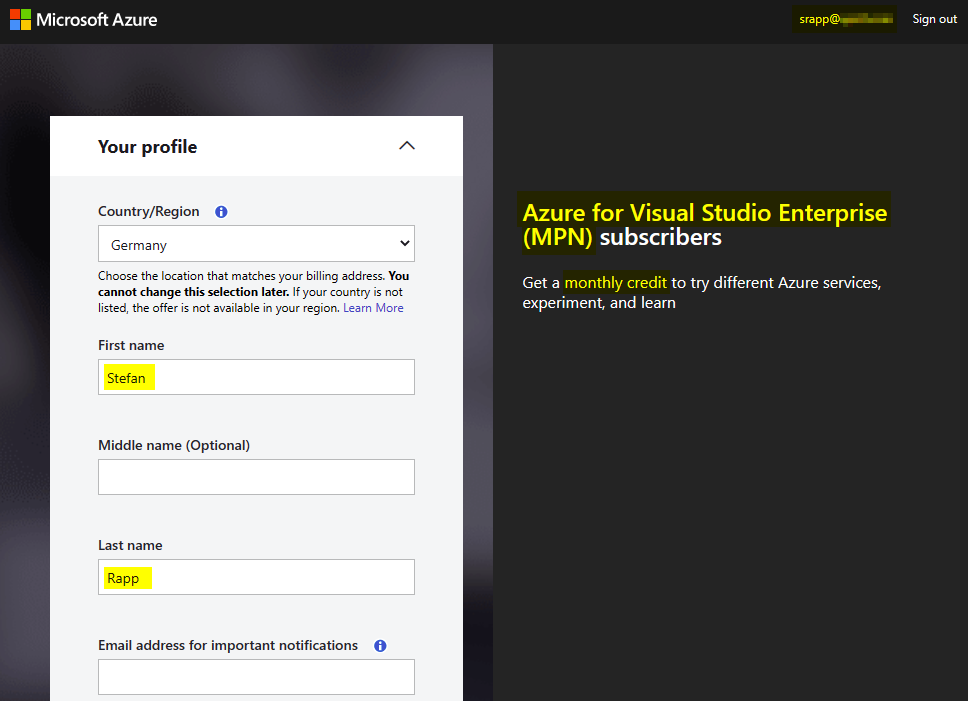
Enter your credentials to the Azure Tenant to connect your Azure Benefit Subscription to the right Tenant. By default, it is the Azure Tenant of your company/organization ([companyName].onmicrosoft.com]. Fill all necessary text boxes to provide the information for your VS Enterprise (MPN) Subscription, like the following screenshot illustrates.
Step 4 – Confirm your data for the Subscription 👍
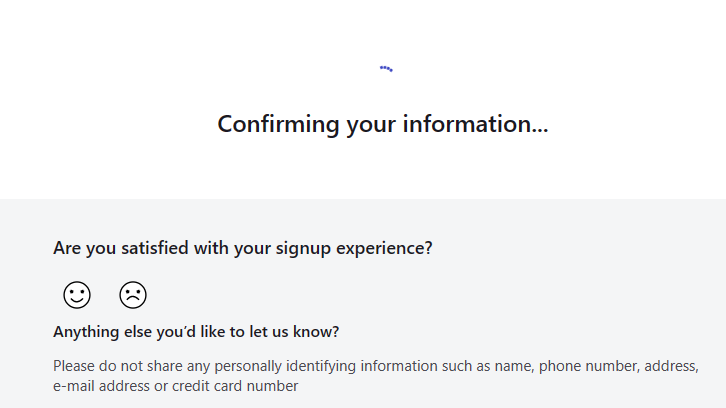
After confirming your data, all the information are checked. No credit card information is needed to bring an MPN subscription to the Azure Tenant.
Step 5 – Find your MPN Subscription in your Tenant 🔎
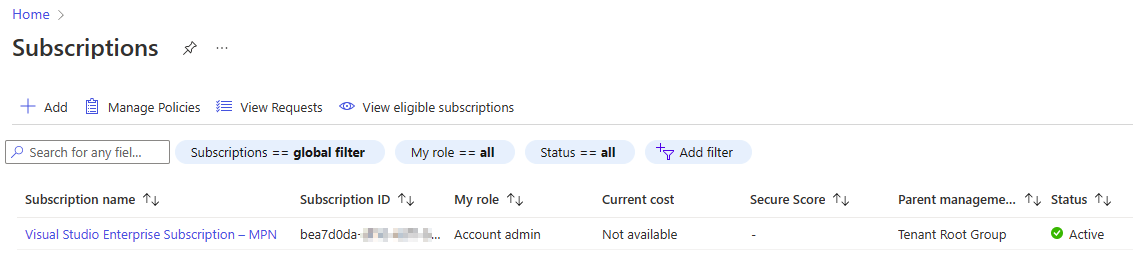
When the confirmation part is done, you can find your Azure MPN Subscription in the Azure Tenant of your company under the “Subscriptions” section in the menu, like the following screenshot illustrates. Your Azure AD company user has admin rights (“owner“) on the Azure Subscription by default. So full access to it is guaranteed. 💪
Step 6 – Missing Azure AD Access 🔐
Unfortunately, as already mentioned above, in a company we normally do not have any access to the Azure AD because of security and compliance reasons. 🪪 So, creating and managing “Enterprise Applications”, “Users“, “Groups“, “Custom Domain Names” and “App Registrations” will give us a hard time, especially when we want to test or experiment with capabilities on Azure AD level. 🧑🔬 Therefore, it makes sense to move the activated Azure MPN Subscription to another personal Azure Test Tenant, where we have full control over the whole Azure AD.
But how to do that? 🤔

Step 7 – Create your personal Azure Tenant 🧑
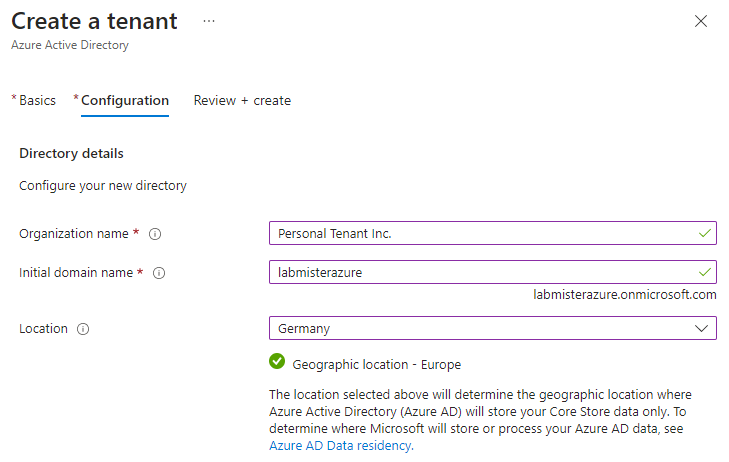
First of all, create your personal Azuer AD (Tenant) like the following screenshots show as an example. You can define your own names so that meets your purposes. After clicking the “Create” button it will take several minutes until the provisioning process of the Azure Tenant is done.

Step 8 – Add your company Account to your personal Azure Tenant 🧏
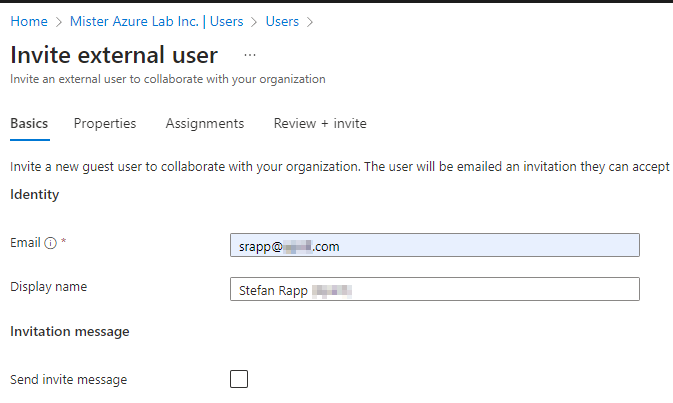
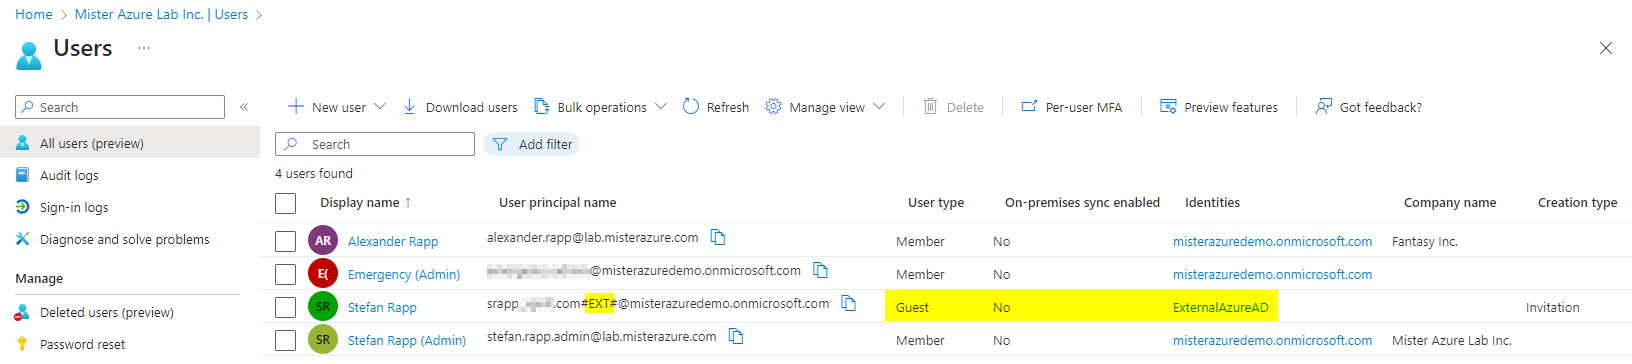
After your personal Azure Tenant has been created successfully, you can add your company account as ‘Guest‘ user to the Azure AD, to be able to transfer your Azure Subscription to this test tenant later on. To add an account as guest to the Azure AD, click on ‘Azure Active Directory‘ > ‘Users‘ > ‘New user‘ > ‘Invite external user‘. Add your company email address 📧 and the display name and click ‘Review + Invite‘ to confirm.
Step 9 – Switch to the Azure Company Tenant and transfer the Subscription
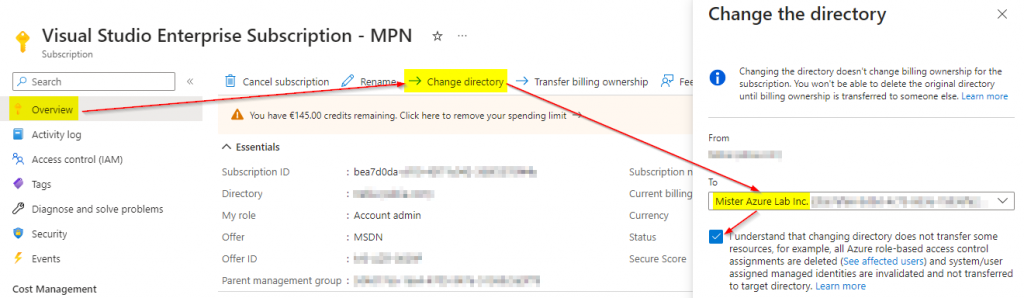
Now, it is finally time to transfer ➡️ the Visual Studio Enterprise Subscription (MPN) from the company Azure Tenant 🏭 to your personal Azure Tenant to enjoy all the credits provided by Micrsoft with full access to Azure AD and the Azure Subscription. First, login to the company Tenant through the Azure Portal like you are used to. Click on ‘Subscriptions‘ in the menu and select your MPN subscription as displayed in the following screenshot.

On the ‘Overview‘ tab of the subscription select the button ‘Change directory‘ and select your personal Azure Tenant as destination. Click the ‘Change‘ button to confirm the transfer to your personal Azure Lab Tenant.
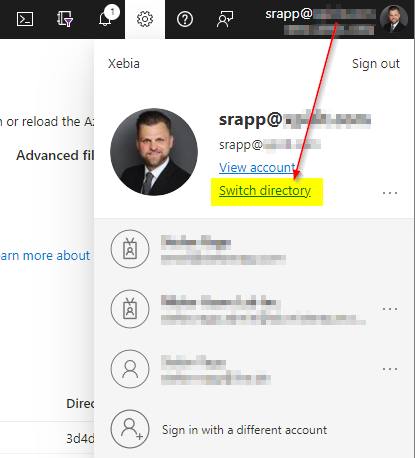
The subscription was moved the personal Tenant, but it may take some time for the change to reflect 🆙 in the portal. Please try refreshing the page and switching the directory in 10 minutes to view this subscription in the new directory of your personal Azure Tenant. After the successful transfer you can switch to your personal test tenant, as the following screenshot shows.
Click on ‘Subscriptions‘ in the menu again to verify if your Azure Subscription has been transferred correctly. ✅ If everything worked fine, your Azure Subscriptions will be displayed in the new Azure Tenant like in the following screenshot. 🔎
In the next step, you can add the administrator (member) account of your personal tenant to the Azure Subscription as an ‘Owner‘ over the ‘Access control (IAM)‘ section of the just transferred subscription. 🔑 Finally, remove ♻️ your company account as ‘Guest‘ user from the Azure Tenant again, as we only want to work with the member administrator account of our personal Azure Tenant. 👍 Of course, you can rename the subscription as well to distinguish it from other existing subscriptions in the tenant.
Now, start experiencing all Azure Services including Azure AD. 😉 #AzureRocks🤘